How to Self-Inject Vitamin B12 at Home
If you’re considering diy b12 injections at home, you’re probably trying to solve two problems at once: keeping your B12 levels stable and avoiding long delays (or costs) that come with clinic visits. In my hands-on work, the biggest challenge hasn’t been the injection itself—it’s doing it safely, consistently, and in a way that matches your form of deficiency and your prescribed dose.
This guide walks you through a practical, safety-first approach to self-injecting vitamin B12 at home, including what to verify before you start, how to inject correctly, how to reduce side effects, and when to stop and get medical help.
Before You Start: Confirm You Should Self-Inject
Self-injection is appropriate for some people, but not for everyone. The decision should be based on your diagnosis, your prescribed regimen, and the exact product you’re using (formulation and concentration matter).
What I verify every time with clients
- Prescription match: the exact B12 type (commonly cyanocobalamin or hydroxocobalamin), dose in mcg, and injection frequency.
- Route: whether you’re instructed to inject intramuscular (IM) or subcutaneous (SC). The technique differs.
- Needle/syringe details: needle gauge and length recommendations affect depth and comfort.
- Training and consent: you should be taught in person or via a clinician-reviewed protocol before attempting diy b12 injections.
Measurable reality check: In one common scenario I’ve seen, people start with leftover supplies from an older prescription or switch brands without matching concentration—this can silently change the dose. I recommend writing down the concentration and dose from the packaging and matching it to your prescription.
Know the “stop and call” situations
Get medical help promptly if you have severe allergic symptoms, widespread rash, trouble breathing, chest tightness, fainting, or rapidly worsening symptoms after injection. Also call your clinician if you’re unsure about the route, the product, or the dose.
Supplies Checklist for Safe Home Injections
Safety isn’t only technique—it’s also preparation. I’ve learned that most injection-day issues come from missing or mismatched supplies rather than the injection steps themselves.
Basic supplies
- Prescribed vitamin B12 vial/ampoule and the concentration you were given
- Prescribed syringes and needles (matched to route and clinician instructions)
- Alcohol swabs (and/or a recommended skin antiseptic)
- Sterile gauze or cotton pads
- Sharps disposal container (puncture-resistant)
- Gloves (optional but often helpful for hygiene)
- Clean, well-lit workspace and a surface to lay out supplies
- A small bandage, if needed
What to avoid
- Reusing needles or syringes
- Injecting if the vial is damaged or the solution is discolored
- Using supplies that don’t match your prescription (needle length/gauge especially)
- Skipping sharps disposal (used needles must go straight into the container)
Choosing the Injection Site (and Why It Matters)
The injection site influences comfort, absorption consistency, and complication risk. In my experience coaching patients, the site decision is where many people feel anxious—so getting it right makes the whole process easier.
Common IM sites
For intramuscular injections, clinicians often recommend sites such as the ventrogluteal or dorsogluteal region or the lateral thigh, depending on patient factors and training. Follow your clinician’s specific guidance.
Common SC sites
For subcutaneous injections, clinicians often use areas like the upper arm, abdomen, or thigh (again, follow your prescribed instructions). SC sites generally tolerate smaller needle depths and may cause less muscle soreness.
Rotate sites to reduce irritation
Whether you’re doing IM or SC, rotating sites is a practical way to reduce repeated local irritation. I usually advise patients to track which side and which site they used on injection day—this turns “guessing” into a simple routine.
Step-by-Step: How to Do diy b12 injections Safely at Home
The exact steps can vary based on whether your B12 comes in a vial (with a rubber stopper) or an ampoule, and whether the dose is IM or SC. Use the method your clinician trained you for. Below is a general safety-first sequence that aligns with standard injection workflow.
1) Prepare your workspace
- Wash hands thoroughly.
- Set up all supplies within reach.
- Label a disposal plan: used sharps go directly into the sharps container.
2) Check the medication
- Confirm the medication name (B12), dose, concentration, and route per your prescription.
- Inspect the solution for clarity (do not inject if it appears improperly mixed, cloudy, or contains particles unless your clinician instructed otherwise).
3) Draw up the dose (if using a vial)
If your regimen uses a vial, you’ll typically draw up the prescribed dose after disinfecting the vial top. Use the needle and technique your clinician provided, especially if you were trained to reconstitute or mix.
Hands-on lesson: One of the most common mistakes I’ve seen is drawing the wrong line of measurement—especially when the syringe markings are hard to read or the dose is small. A practical fix is to use good lighting and pause to confirm the measurement before proceeding.
4) Disinfect the injection site
Clean the skin with an alcohol swab and let it dry. Don’t “re-touch” the area with unclean hands afterward.
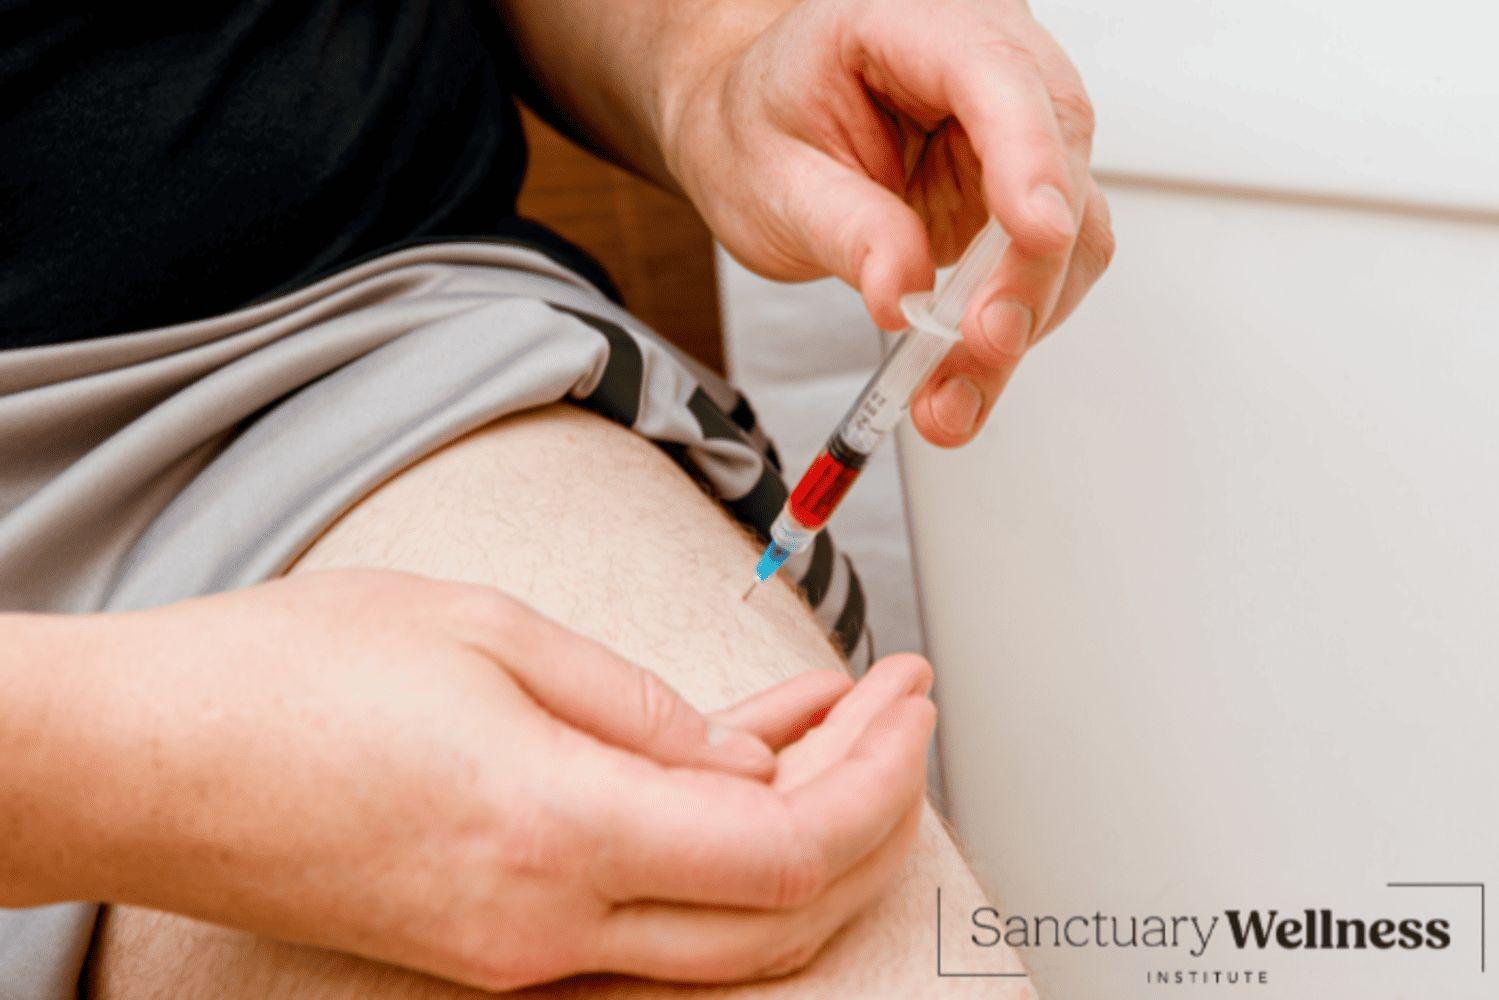
5) Inject correctly (based on route)
- IM: follow your training for needle angle and depth into muscle.
- SC: follow your training for how to pinch the skin (if instructed) and needle angle/depth into subcutaneous tissue.
In both cases, aim for a steady, controlled motion. If you feel severe pain, resistance that seems wrong, or significant bleeding that doesn’t stop, stop and seek clinician guidance.
6) Dispose immediately and document
- Dispose of the needle/syringe in the sharps container immediately after use.
- Record the date, dose, route, site, and any reactions (e.g., soreness, swelling, rash).
Documentation matters more than people expect; it helps you and your clinician spot patterns if side effects occur.
Managing Common Side Effects After Injection
Some localized effects can happen, and knowing what’s normal reduces anxiety. In my hands-on coaching, patients do best when they know which symptoms should pass and which require attention.
Common, usually manageable reactions
- Soreness or tenderness: typically resolves in a day or two.
- Small redness: can happen at the injection site.
- Light bruising: especially if a small vessel was affected.
Tips that often help
- Use appropriate needle size for your route (don’t “make do” with wrong supplies).
- Rotate sites to reduce repeated local irritation.
- Apply gentle pressure after injection if trained to do so; avoid aggressive rubbing.
- Consider timing: injecting when you can relax afterward can reduce perceived discomfort.
When to contact your clinician
- Symptoms that worsen or persist beyond a few days
- Signs of infection (increasing warmth, spreading redness, fever, or pus)
- Allergic-type reactions (hives, swelling, breathing difficulty)
How to Make Home Injections Stick (Consistency and Monitoring)
The clinical goal with B12 injections is steady correction based on the underlying cause—dietary insufficiency, malabsorption, pernicious anemia, or other conditions. DIY injection technique is only part of success; monitoring and consistency are the rest.
Consistency strategies I recommend
- Same day routine: tie injections to a weekly schedule and set reminders.
- Track dose and site: reduces confusion, especially when you rotate.
- Keep supplies organized: store vials and injection materials in the condition your product requires.
Follow-up labs
Your clinician may check B12 levels and related markers (depending on your diagnosis) to confirm response and adjust dosing. If you’re doing diy b12 injections, bring your injection log to your follow-ups—this helps correlate timing with lab trends.
FAQ
Is diy b12 injections always safe to do at home?
Home injection can be safe for many people when it’s prescribed for your specific product and route, and you’ve received proper training. Safety depends on correct dose, correct route (IM vs SC), correct supplies, and knowing when to stop and get help.
Should I inject intramuscular (IM) or subcutaneous (SC) vitamin B12?
Use the route your clinician prescribed for your exact medication and regimen. IM and SC injection techniques differ, including needle depth and site selection. Switching routes without clinician guidance can change local tolerance and the way you deliver the dose.
What happens if I miss a scheduled B12 injection?
Don’t try to “double up” unless your clinician instructs you. Contact your clinician or follow their written guidance for missed doses so your schedule and dose stay consistent with your treatment plan.
Conclusion
If you approach diy b12 injections like a clinical routine—confirming your prescription details, using the right supplies, disinfecting properly, injecting into the correct site for your route, and tracking what happens—you can reduce friction and make home treatment more predictable. The most important next step is simple: review your exact product, dose, and route with your clinician (or your prior training notes) before the first dose, then start a one-page injection log for consistency.
Discussion