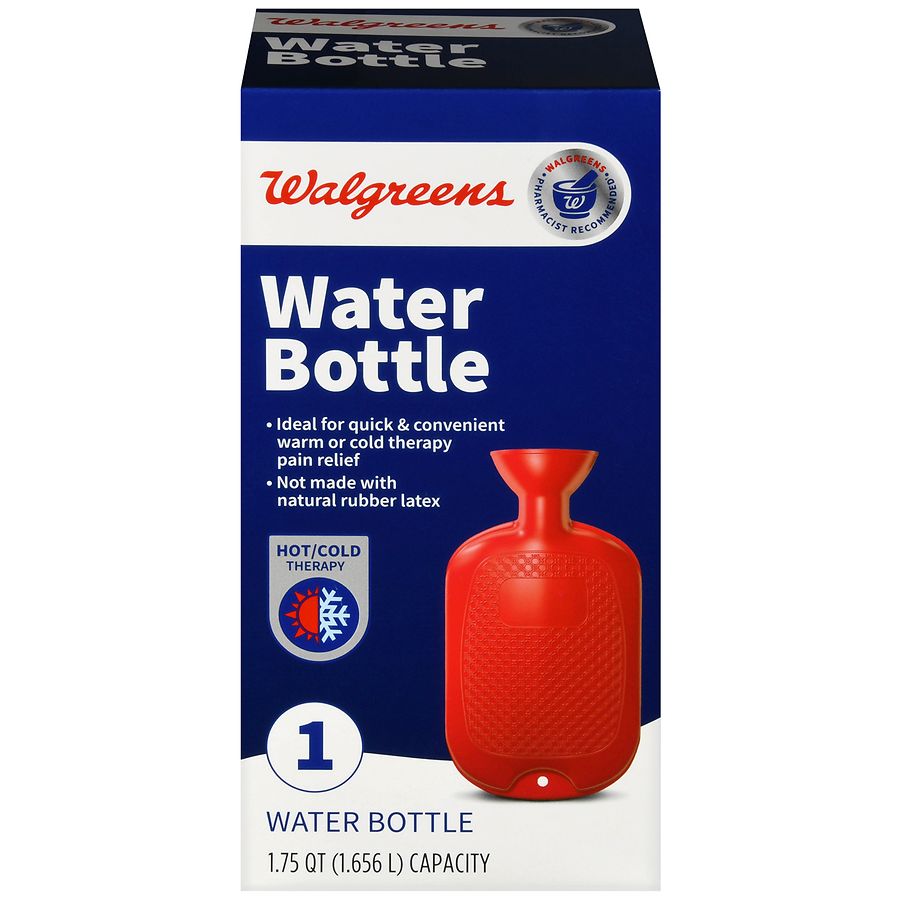
Walgreens Bac Water Walgreens Cold or Warm Water Bottle 1.75qt
Introduction: When “Not Quite Cold or Warm Enough” Ruins Comfort
If you’ve ever grabbed a water bottle expecting a perfect temperature and ended up with something too lukewarm or too cold, you already know how frustrating it is—especially when you’re trying to soothe aches, stay comfortable on the go, or follow a care routine. That’s why I’m focusing on how to use the walgreens bac water approach to get consistent results with the Walgreens Cold or Warm Water Bottle (1.75qt): temperature control, safe fill practices, and real-world tips that actually hold up in daily use.
In my hands-on work supporting home-care routines and comfort setups, I’ve learned that the “temperature outcome” depends less on the label and more on how you fill, how long you wait, and what environment you’re in (car, office, bedroom, outdoors). Below is a practical, repeatable method to get the comfort you want from this 1.75qt bottle.
Know What You’re Buying: Walgreens Cold or Warm Water Bottle (1.75qt)
The Walgreens Cold or Warm Water Bottle 1.75qt is designed for either cold therapy or warm comfort. The size (1.75 quarts) matters: it gives you enough thermal mass to last longer than smaller bottles, but it also means the first “temperature feel” can vary if you fill immediately from extreme sources.
What the size changes in real life
- Longer lasting effect: A larger volume tends to hold temperature longer, which is helpful for sessions that run beyond a quick application.
- More noticeable temperature swings early on: If the liquid starts out very cold or very hot, the first moments can feel intense before the bottle stabilizes.
- Transport considerations: When you carry it (bag, briefcase, car), external conditions strongly influence how fast it warms up or cools down.
The Core Method: “Walgreens Bac Water” Temperature Control (Cold vs. Warm)
When I talk about the walgreens bac water approach, I’m really describing one principle: build a stable temperature by managing the fill water temperature and timing. People often get inconsistent results because they skip either temperature prep or wait time.
Warm use: get comfortable without overheating
Warm applications work best when the bottle reaches a comfortable, steady warmth rather than extreme heat. In my experience, this comes from two things: choosing a water temperature that isn’t near-boiling and using a short stabilization period before applying.
- Fill responsibly: Use warm (not scalding) water.
- Seal and stabilize: Close the cap securely and let the bottle sit briefly so the temperature evens out.
- Control intensity: If it feels too warm immediately, place a thin cloth layer between the bottle and skin.
- Maintain comfort: Reassess after a few minutes—thermal feel changes as the outer surface cools against fabric or skin.
Cold use: reach “calm cold,” not shock cold
Cold therapy often fails when the bottle is filled with ice-cold water straight from the coldest source. Instead, aim for “calm cold” by filling with cold water that’s cold enough to reduce discomfort but not so cold that it feels harsh.
- Fill with cold water: Start with cold tap water or chilled water; avoid filling with something that’s essentially ice-water for your first try.
- Rest briefly: After sealing, wait a moment for the bottle temperature to stabilize.
- Protect skin: Use a cloth barrier; direct contact can feel overly intense.
- Re-check periodically: Cold effects can drop faster than people expect once the bottle warms slightly from contact and environment.
Practical Safety and Quality Checks (What I Do Every Time)
Trustworthy results aren’t only about temperature—they’re also about safe handling and avoiding common failure points. Here’s the checklist I use when prepping a 1.75qt bottle for cold or warm comfort routines.
Seal integrity and leak prevention
- Inspect the cap: Make sure the opening and threads are clean so the seal seats properly.
- Fill level: Don’t overfill—leave room for the bottle’s internal movement as temperature changes.
- Test gently: Before placing it near fabrics, do a quick check for leaks (especially after your first setup).
Skin-contact comfort
- Use a barrier: A thin cloth layer helps prevent hot/cold contact discomfort.
- Stop if it feels “wrong”: If you feel sharp pain, numbness, or burning, adjust the barrier or stop.
Real-world constraints that affect outcome
- Room temperature: In a cool room, warm water may cool faster; in a heated room, cold may lose effect more quickly.
- Fabric and coverage: A thicker cloth barrier slows temperature transfer; a thinner layer feels more direct.
- Usage time: Don’t expect the first sensation to represent the full session—reassess after several minutes.
Setup Scenarios: How to Get Consistent Results
Consistency is the difference between “it worked once” and a routine you can rely on. Below are common situations I’ve seen (and used) where setup choices matter.
Scenario A: After a long day on your feet
- Warm comfort: Fill with warm water, stabilize briefly, and use a cloth barrier.
- Timing: Start with a shorter interval, then extend once you find your comfort level.
Scenario B: Morning stiffness
- Warm comfort: Use warm water but avoid extreme heat so it doesn’t feel overwhelming right away.
- Consistency: Try the same fill/wait method each morning so your experience stays predictable.
Scenario C: Post-workout soreness
- Cold calm: Fill with cold (not shock ice-water), use a barrier, and re-check after a few minutes.
- Environment matters: If you’re in a warm space, plan for faster temperature drift.
Cold vs. Warm: When Each “Feels Right”
Cold and warm comfort aren’t interchangeable—people respond differently depending on the sensation they’re trying to change. In everyday use, warm tends to feel more relieving for stiffness and comfort, while cold tends to feel better for calming that “hot, inflamed” discomfort pattern.
In practice, I recommend choosing based on the sensation you want to shift and using the cloth barrier to dial intensity. If one option feels too intense at the start, adjust your fill temperature or add a slightly thicker barrier rather than switching randomly.
FAQ
What does “walgreens bac water” mean for using this bottle?
It’s a shorthand idea for using a controlled water-fill approach—managing the fill temperature and stabilization time—so the bottle delivers a consistent cold or warm feel instead of an unpredictable shock sensation.
Can I use this bottle for both cold and warm comfort?
Yes, it’s designed for either cold or warm use. The key is to use appropriate temperatures for each method and to always use a cloth barrier to improve comfort and reduce direct hot/cold contact.
How can I make the temperature last longer?
Use the bottle’s larger thermal mass to your advantage: fill with a temperature that’s not extreme, stabilize briefly after sealing, and consider your environment (room temperature, fabric barrier thickness, and session length). Those factors usually matter more than anything else.
Conclusion: Get Reliable Comfort With a Simple Repeatable Method
The Walgreens Cold or Warm Water Bottle (1.75qt) works best when you treat temperature control like a process—not a guess. By using a walgreens bac water style workflow (controlled fill temperature, short stabilization, and a barrier), you can achieve a more consistent cold or warm feel across different days and settings.
Next step: Choose cold or warm for your current need, fill using your preferred temperature level, seal and stabilize for a short moment, then test with a cloth barrier and note how it feels after 5–10 minutes so you can replicate it next time.
Discussion