How To Draw Up A B12 Injection Ivy Grove Surgery : Self-administration of B12 injection
Self-administration of B12 injection: when “how to draw up a B12 injection” becomes a real-life skill
If you’ve ever stared at a prescription, a small vial, and a syringe and thought, “How to draw up a B12 injection without messing it up?”—you’re not alone. In my hands-on work with patients and carers, this is one of the most common moments of anxiety: not because B12 is complicated, but because the steps feel high-stakes and the environment (time, privacy, needle visibility) is rarely ideal.
This guide is about practical, calm, accurate technique. I’ll walk you through what matters most for self-administration of B12 injection—including how to draw up a b12 injection safely and correctly—so you understand the “why” behind each step and what to watch for.
Before you start: confirm the prescription and your injection plan
Before discussing any technique, I want to highlight the part that saves the most problems later: matching your method to your specific B12 formulation and injection instructions.
Check what you’re actually injecting
- Brand and strength: B12 comes in different strengths (and sometimes different dilutions).
- Presentation: some are prefilled syringes; others are vials that require drawing up medication.
- Route: many B12 injections are given intramuscularly or subcutaneously; your prescriber will specify which.
Confirm the “administering” details
- Dose and frequency: write it down exactly as on the label.
- Needle type and size: different injection routes may use different needle gauges/lengths.
- Site guidance: your clinician should provide a site plan (e.g., upper arm, thigh, abdomen, or another approved site).
Important: if your instructions are different from what you see here, follow your prescriber’s directions. The best technique in the world isn’t correct if it doesn’t match your specific prescription.
Materials you should have ready (and why organization matters)
In practice, the easiest way for errors to happen is not “understanding”—it’s rushing. I’ve seen patients do fine once we slowed things down and laid everything out in a consistent setup.
Common supplies
- B12 vial (if not prefilled)
- Syringe(s) and drawing-up needle/needle(s) as instructed
- Alcohol swabs or site prep solution
- Sharps bin (and a safe plan for disposal)
- Clean surface and good lighting
- Gloves if advised or if it helps you feel more comfortable
Set up your workspace
- Use a stable, clean surface and keep all items within reach.
- Use a bright light so you can see measurements and fluid lines.
- Have the sharps bin open and positioned before you start.
If you’re wondering what this changes: it reduces awkward pauses with an exposed needle, and it improves accuracy when you’re working out the exact plunger level for how to draw up a b12 injection.
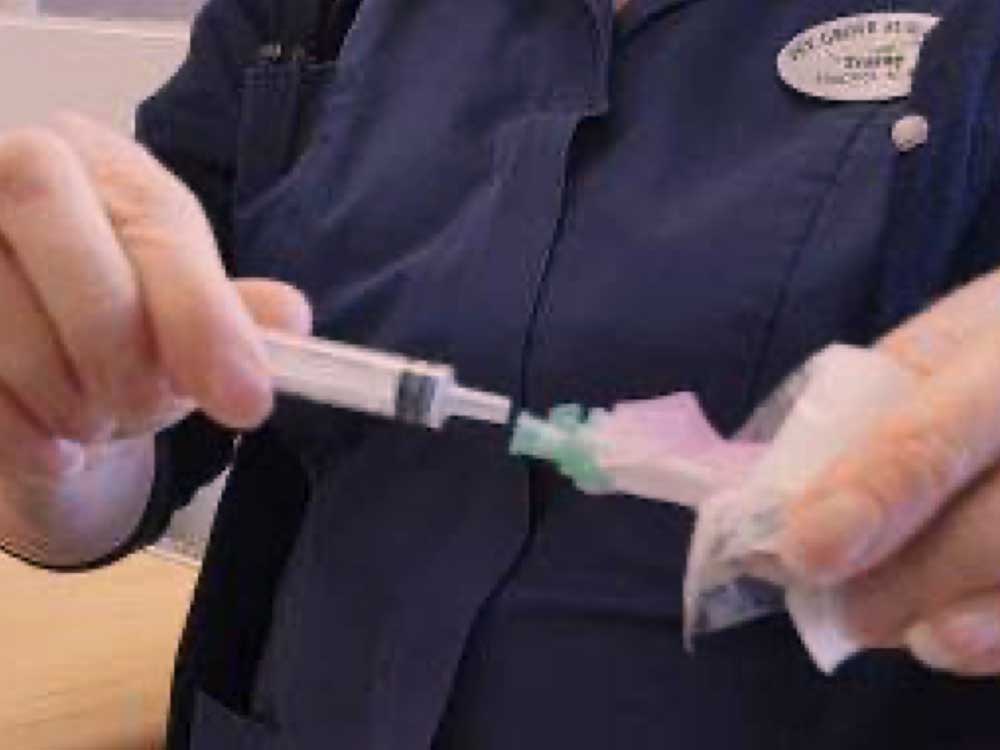
How to draw up a B12 injection: step-by-step technique (vial format)
This section focuses on vial-based injections because that’s where “how to draw up a b12 injection” matters most. If you have a prefilled syringe, drawing up is typically not part of your process.
Step 1: Wash hands and inspect
- Wash your hands thoroughly.
- Check the vial label (drug name/strength, expiry date if visible).
- Look at the solution: it should match what your clinician/pharmacist instructed (cloudiness/particles should be handled according to their guidance).
Step 2: Prepare the syringe as instructed
- Use the syringe and needle configuration you were advised to use for drawing up and administering.
- If your clinician told you to use a separate needle for drawing vs injecting, follow that exact method.
Why it matters: needles can differ in sharpness and length. Using the correct needle for each step is part of safe technique.
Step 3: Clean the vial top
- Wipe the rubber stopper with an alcohol swab.
- Allow it to dry (don’t blow on it).
Step 4: Draw up air to the prescribed amount (the “measurement trick”)
- Pull the syringe plunger to draw in an amount of air equal to the dose you need (as instructed by your clinic/pharmacist).
Logic: injecting air into the vial can make it easier to withdraw the correct volume, reducing repeated attempts and minimizing time with exposed equipment.
Step 5: Insert needle into the vial and inject the air
- Insert the needle through the stopper into the vial.
- Gently push the plunger to release the air into the vial.
Step 6: Invert the vial and draw the medication
- Hold the vial upside down (so the liquid flows toward the needle).
- Slowly pull back the plunger to the correct dose line.
- Go slowly—this is where measurement errors happen most.
My practical tip: I’ve found that pausing for 2–3 seconds to re-check the plunger against the markings (without rushing) can prevent “off-by-a-little” dosing mistakes.
Step 7: Remove air bubbles if instructed
- If you see bubbles, follow your clinician’s instructions for how to correct them.
- Some guidance allows tapping and adjusting; other guidance may recommend a specific correction method.
Why it matters: bubbles can reduce the amount of medication you actually withdraw.
Step 8: Prepare to inject (and needle change if required)
- Dispose of/replace the needle if you were told to use a different needle for injection.
- Hold the syringe steady and keep the needle protected until you’re ready to inject.
Injection readiness: site choice, comfort, and common pitfalls
Correct drawing-up doesn’t help if the injection itself becomes chaotic. In practice, the “best outcomes” come from planning the site and moving methodically.
Choose the site you were instructed to use
- Follow the approved injection area for your prescribed route (intramuscular vs subcutaneous).
- Rotate sites if your clinician advises rotation.
Prep and position
- Clean the site with an alcohol swab (and let it dry).
- Use a comfortable position that helps the muscle relax.
Inject according to route guidance
- Follow the angle and depth instructions given by your clinician.
- Inject steadily, as advised.
Aftercare and what to monitor
- Dispose of sharps immediately in a sharps bin.
- Some mild redness or soreness can occur; monitor as your clinician advised.
- If you experience concerning symptoms (beyond mild discomfort), contact your healthcare provider.
Troubleshooting: what usually goes wrong (and how to correct it)
When people struggle with how to draw up a b12 injection, it’s usually one of these issues—not “lack of skill.”
Problem: Difficulty reading the syringe markings
- Fix: Improve lighting and hold the syringe at eye level.
- Fix: Use the syringe type your clinic/pharmacy recommended (some have clearer markings for certain doses).
Problem: Air bubbles remain
- Fix: Follow the specific correction method your clinician/pharmacist taught you.
- Fix: Avoid repeated “jostling” that can create more bubbles.
Problem: Dose feels uncertain
- Fix: Stop and re-check the plunger line before injecting.
- Fix: If you’re unsure, contact your healthcare team rather than guessing.
FAQ
What if my prescription is a prefilled B12 syringe?
If you have a prefilled syringe, you typically don’t need to draw up medication. Follow the administration instructions for your route and site, and confirm whether any needle change is required before injecting.
How long does it take to learn how to draw up a B12 injection?
In my experience, many people can perform the vial preparation steps confidently after a few supervised tries—especially once they’ve practiced correct reading of the plunger markings and a calm, consistent workflow.
Is it safe to practice the drawing-up technique without injecting?
Practice setups should follow what your clinician/pharmacist allows. If you’re training, do so with proper guidance and without improvising on dosing or handling—safety and correctness matter most.
Conclusion: your next practical step
Learning self-administration of B12 injection isn’t just about memorizing steps—it’s about understanding the measurement logic behind how to draw up a b12 injection, organizing your materials to avoid rushed errors, and matching technique to your exact prescription and injection route. When you slow down at the measurement moment and follow site and disposal instructions carefully, the process becomes far more manageable.
Next step: If you’re about to start vial-based injections, schedule or request a brief check-in with your healthcare team (or pharmacist) to confirm the drawing-up volume, needle use (if different for draw vs inject), and the correct injection route/site for your prescription—then do your first unsupervised attempt with everything laid out and your sharps bin ready.
Discussion